Creating Easy and Simple Photo Tags for a Scrapbook Layout!

I love tags! In fact, I use tags a lot on my scrapbook layouts for embellishing, as a layering element, to anchor photos, or to use as a spot of journaling. For today’s project, I turned my 3×4 inch photos into photo tags using a 6×6 inch patterned paper pad, a corner punch from We R Makers, and a simple office hole punch.

This particular design can be easily created using tools that you have in your stash! To create your own photo tags, you can…

  • Use tag metal dies or tag punches.
  • Cut tags using an electronic cutting machine.
  • Cut tags by hand using your scissors.
  • Use a tag punch board or similar tool to create a tag.

There is no need to purchase new tools to create this look. In fact, I challenge you to look at your tools and available materials (and your sharp creative mind), and see how you can create a similar design.

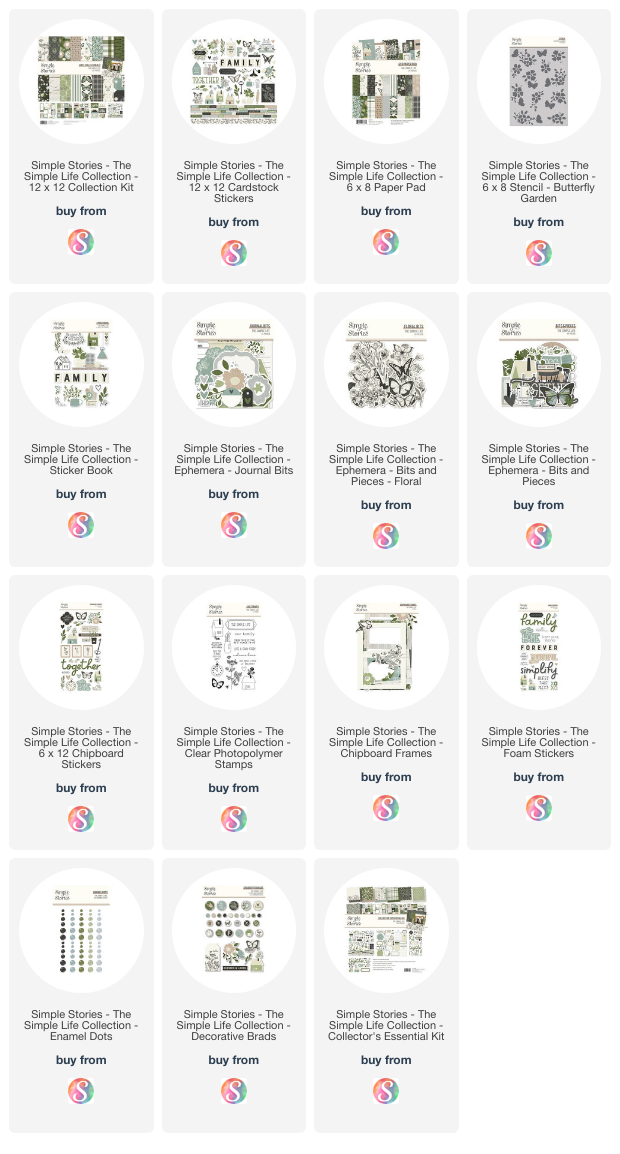
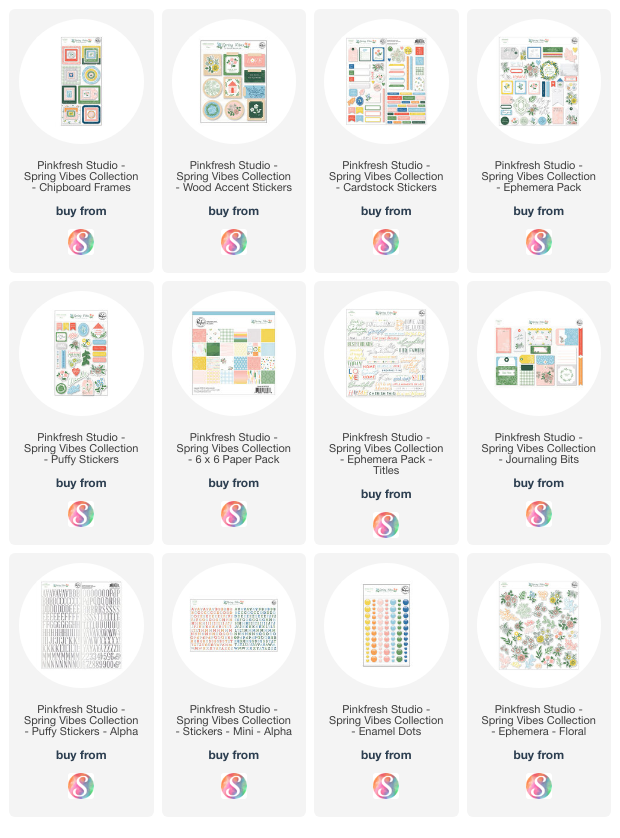
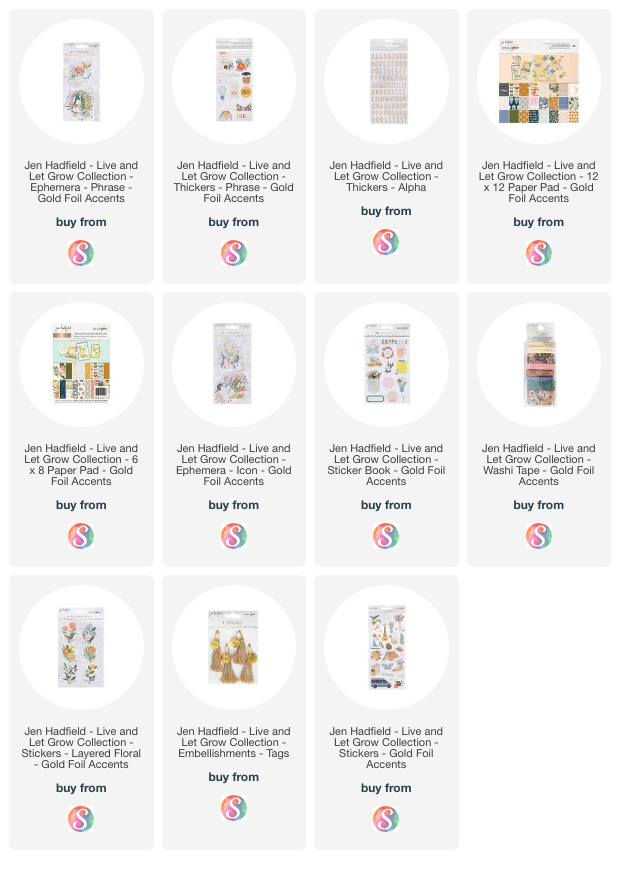
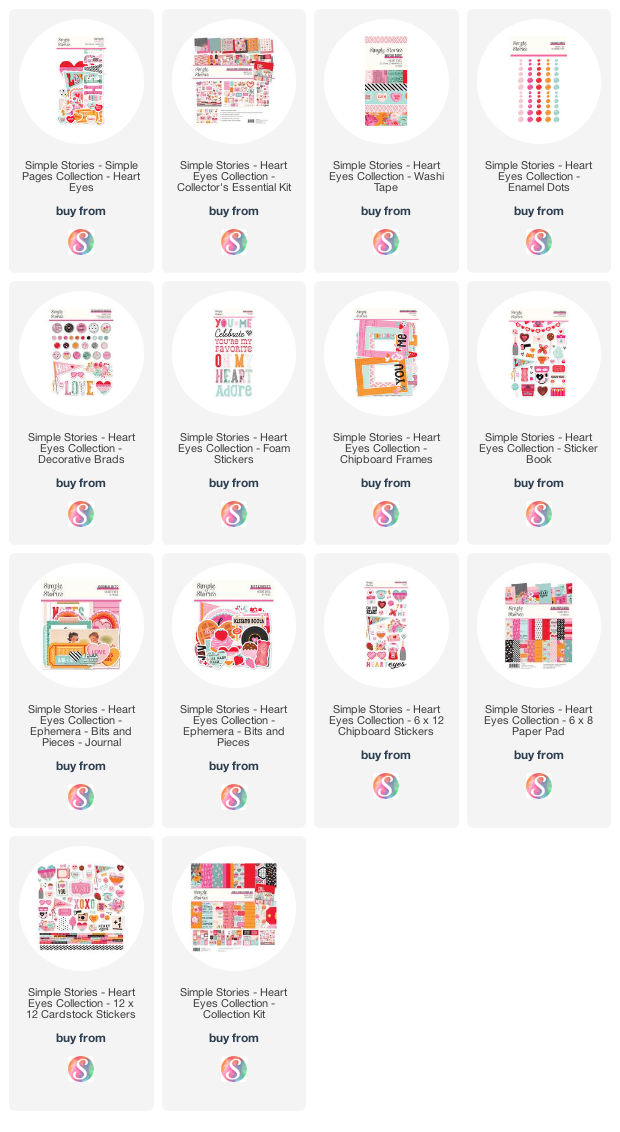
Here are the products from my stash that were used to create today’s layout!

And here is the project – a 12×12 inch scrapbook layout titled Spill The Tea!

I had so much fun making these photo tags and creating the appearance that they are hanging from the top of the layout!

I used patterned paper as the base of the photo tags along with a angle corner punch to notch the top corners. Black and white twine was added to the tags and adhered in place using washi tape on the back of the layout.

Once the tags were in place, I added layered embellishment clusters, a title, and journaling. I love how the look of product from different designers and manufacturers work so well together!

Be sure to check out the process video for this project, now available on the Victoria Marie YouTube Channel. I hope you are inspired to use your stash to create a similar design!

PRODUCTS: All of the materials used for this layout are from my stash and may not be currently available. I encourage you use items from your stash, however, I know that some of you might be interested in the products used for this project – a list is provided below (no links).

Be sure to check your favorite craft and hobby retailer for available products.

  • Park Lane Floral Space 12×12 inch Paper Pad
  • Simple Stories My Story 12×12 Sticker Sheet
  • Jillibean Soup Coordinating Label Stickers
  • Kelly Purkey Mon Ami 6×6 Paper Pad
  • Pink Paislee Hello Sunshine 6×6 Paper Pad
  • Pinkfresh Studio Chipboard Frames – The Best Day Collection
  • Citrus Twist Puffy Alpha Stickers
  • Thickers Poolside Alpha Stickers
  • Pinkfresh Studio Ephemera – Days of Splendor Collection
  • Simple Stories Decorate Brads – Hello Today Collection
  • Bo Bunny Stitches Stamp

My Annual Tradition – Creating a Layout to Kickoff the New Year!

At the start of a new year, I like to make a scrapbook layout to document my hopes and dreams for the upcoming year. This layout serves as a starting point for documenting my life – the good, the bad, all of my challenges, and everything in between.

I always start the year filled with so much hope and optimism. I love the idea of starting fresh and considering all of the wonder possibilities that await. The act of creating this layout every year fills my heart with so much joy. I’m setting the pace for the year ahead…documented with words and pictures.

This layout was created during my YouTube Livestream, the first livestream I’ve hosted in six months. I had a blast creating this layout just for fun versus creating on demand! I found a Hip Kit Club scrapbooking and embellishment kit (which I totally forgot that I had), and thought it would be perfect to for this layout. The kit features colorful fall themed elements, nothing related to New Year’s, but it works! This is the beauty of stretching your supplies and using them outside of their intended purpose.

In addition to the kit, I used letter stickers from my stash that work perfectly with the color scheme. When possible, I love to pair some of my older stash items with new and unused products – this is truly the best of both worlds!

And true to form, this layout features multiple photos, journaling, layers of die cuts, chipboard, and other elements – all of my favorite things! I feel that I am starting to find my creative flow again…and it’s amazing!

Recorded Replay: To see this layout come together, be sure to watch the recorded replay of my New Year’s 2024 YouTube Livestream. During the livestream, I share a brief life update as well as information about my Year of the Freeze Challenge and my upcoming online class, Project DONE: A 12-Week Intensive Scrapbooking Journey! The construction of the layout begins at timestamp 40:30…just in case you want to skip the chatty part of the stream…enjoy!

A Quick and Colorful 8.5×11 Inch Layout Using Items From My Stash!

Today on the Victoria Marie YouTube Channel, I’m using items from my stash to create a colorful 8.5×11 inch layout called You’ve Got This! In fact, I used the some of the leftover materials from a recent YouTube livestream to create today’s project.

When possible, I try to make more than one project from the remaining items of a kit or collection. This allows me to get more usage from my materials while creating multiple layouts. To see today’s layout come together, click on the video below or head to the Victoria Marie YouTube Channel.

Also, be sure to scroll down to see photos of today’s project along with a list of products used. NOTE: All of the items featured in this video are from my stash, so availability may vary. Enjoy!

Project Photos: You’ve Got This – 8.5×11 inch Single Page Layout

Supply List (Availability may vary- check manufacturer for current product options.)

Pattern Paper – Vicki Boutin Color Study (American Crafts)
Embellishments – Vicki Boutin Color Study (American Crafts)
All This Happiness Gold Foil Chipboard Stickers (American Crafts)
Hello Friend Silver Holographic Chipboard Stickers (American Crafts)

YouTube Livestream – Reaching Deep Into My Stash!

Did you catch today’s livestream on the Victoria Marie YouTube Channel? Well my friend, click on the video below to check it out! I created a 12×12 inch scrapbook layout using a variety of items from my stash. As you can see, this layout is super colorful! There is a lot of movement and of course, five 3×4 inch photos! I love multiphoto layouts!

To see this project come together, click on the following video. Also, be sure to scroll down to see photos of this project and a list of products I used. Keep in mind that some of the collections may not be available.

I hope you are inspired to reach deep into your stash for similar items if you wish to replicate this design. And don’t forget to share your layout with the Victoria Marie Designs Facebook Group Community!

MINI WORKSHOP: One more thing…if you want to grow your scrapbook layering skills, be sure to check out my upcoming Let’s Create! Layered Embellishment Clusters Mini Workshop!

This 90 minute workshop is scheduled for May 27, 2023 at 10:00 am CST LIVE on Zoom. During the workshop, I will be demonstrating my easy process for creating layered clusters on a scrapbook layout. You don’t want to miss it!

And of course, the workshop will be recorded so feel free to grab your spot and watch the replay at your convenience. To learn more and to register, click HERE! This workshop is only $10.00 USD and is open to anyone who wants to participate!

Now, on to the livestream replay…enjoy!

Project Photos

Products Used (NOTE: Some items may not be available. Check manufacture for current product options.)

  • Pattern Paper – Vicki Boutin Color Study (American Crafts)
  • Embellishments – Vicki Boutin Color Study (American Crafts)
  • Embossed Puffy Stickers – Vicki Boutin Color Study (American Crafts)
  • Butterfly Stickers – Hip Kit Club Exclusive (2021)
  • Embossed Puffy Stickers – Amy Tangerine Late Afternoon (American Crafts)
  • Sticker Book – Amy Tangerine Brave & Bold (American Crafts)
  • Die-Cut Shapes – Amy Tangerine Brave & Bold (American Crafts)
  • All This Happiness Gold Foil Chipboard Stickers (American Crafts)
  • Hello Friend Silver Holographic Chipboard Stickers (American Crafts)
  • Twist Kits Gold Chipboard Stars – Citrus Twist
  • Emily Puffy Alphabet – Felicity Jane (no longer available)

Layered Scrapbook Design Featuring The Simple Stories Simple Life Collection! (MAKE THIS LAYOUT!)

I love Simple Stories…everything they make is pure magic!

The Simple Stories Simple Life Collection doesn’t miss the mark – the color palette, theme, icons, and embellishments are so perfect for a variety of stories. Today on the Victoria Marie YouTube Channel, I am creating a 12×12 inch layout using this stunning collection. If you are looking for creative inspiration, check out the following video! Also, be sure to scroll down to see photos of today’s project along with links to available products.

Should you get this collection? HECK YES!!!

Photos of Today’s Project:

This 12×12 inch layout features two 4×6 inch photos of my family and I while we ate a nice lunch at Panera. As a homeschool family, we enjoy the benefit of a flexible schedule, which often includes many adventures and the occasional lunch treat. I love that we are able to spend this time together and to create such special and unique memories.

I took advantage of the gorgeous pattern papers in this collection, using layers to create an interesting background. Also, since there are several embellishment options in this collection, I was able to make high impact layered clusters that feature die cuts and chipboard elements.

The color story of this kit is such a nice departure from the bright color palettes we normally see in scrapbook collections. The green, soft pink, gray, and black and white elements create a calm and modern composition. It’s simply beautiful!

Be sure to visit the Victoria Marie YouTube Channel to see this layout come together. And stay tuned for more creative inspiration!

PRODUCTS:

Affiliate links are provided below and are free for you to use. Victoria Marie Designs receives a small commission anytime these links are used for purchases. Thanks for your continued support!

Quick Tutorial! Learn About Asymmetrical Scrapbook Design

Today on the Victoria Marie YouTube Channel, I am sharing a quick tutorial about asymmetrical scrapbook design. This design technique is perfect for creating scrapbook layouts with tons of visual impact and interest.

What is Asymmetry?

Asymmetry is the lack of symmetry or equality between halves of a design. In a symmetrical design, both halves of a design will be the same (or similar) in terms of scale and elements used. However, in an asymmetrical design, both halves of the design will be of different size and weight. However, keep in mind that asymmetry does not refer to the absence of balance. Finding balance in an asymmetrical design can be tricky based on how your eye interprets the design.

Balance is truly in the eye of the beholder!

Quick Tutorial! To learn a little more about asymmetrical scrapbook design, check out the video below. Photos of today’s project along with a supply listed are provided as well.

For this project, I used the Spring Vibes Collection by Pinkfresh Studio. This collection features a ton of floral die cuts that are perfect for creating this asymmetrical design!

In this design, one half of the layout contains a large cluster of floral elements and the other half features a smaller cluster of elements. The small cluster works to balance the larger cluster of elements thus creating an asymmetrical design.

While each cluster contains a different number of elements, both clusters feature similar elements in terms of style and color, thus lending to a cohesive scrapbook design. Also, notice that the larger cluster compliments the 4×6 inch photo on the left side of the layout, while the 3×4 inch photo balances the smaller cluster on the right side. These small details add a ton of visual interest to a scrapbook layout.

If you are inspired to give this technique a try, come share your project with the Victoria Marie Designs Facebook Group Community or tag me @victoriamariescraps on Instagram! Thanks so much for stopping by!

Products Featured: Affiliate links are provided below and are FREE for you to use! Victoria Marie Designs receives a small commission anytime these links are used for purchases. Thanks for your support!

I Used Canva and My Circle Punch to Make This Layout!

If you haven’t heard, Canva, a web-based graphic design site, has grown in popularity with creatives over the past few years. Gone are the days of trying to figure out how to make awesome digital designs using Photoshop (the learning curve is steep, y’all)! Canva offers a full range of design tools that are simple and easy to use.

As a business owner, I use Canva to make graphics for my videos and events, as well as slide decks for my online classes. However, I have recently discovered a ton of tools in Canva that can be used to edit and enhance my photos. To be honest, I am currently in the process of learning how to use Photoshop. But, when I need a quick and easy tool to get the job done, I turn to Canva!

In today’s video, I share a brief look at how I used Canva to turn my 4×6 inch photos into 3.5 inch circle photos using a circle frame tool. Now, keep in mind that if Canva is not available to you or if you do not desire to use an online tool to edit your photos, you can always use a circle punch, metal dies, or a shape template to create this design.

Bottom line: USE WHAT YOU GOT, BABY!

THE VIDEO! To see this layout come together, click on the following video. Photos of this project are provided below along with links to available products used for this project.

For this project, I used materials from the Live and Let Grow Collection by Jen Hadfield (American Crafts). Using a circle punch, I created pattern paper circles that measure roughly 3.5 inches. The photos and the pattern paper circles are positioned to frame the title and the journaling text block.

The pattern paper circles are embellished with layered clusters of die cuts and stickers. The elements selected represent a meaningful aspect of the story. Any guesses? Be sure to watch the video learn more!

TIP: Creating small anchors for layered embellishments is a great design option if layering is a bit challenging. Focusing on a small area of layered clusters is less intimidating and offers lots of opportunity to practice your layering skills.

Be sure to check out the video for this project on the Victoria Marie YouTube Channel! And to learn more about Canva, click HERE! I hope you are inspired to give this web-based design tool a try!

List of Available Products:

Disclaimer: Affiliate links are provided above and are free for you to use! Victoria Marie Designs receives a small commission anytime these links are used for purchase. Thanks for your support!

Scrapbook Process Video: Documenting Ages and Stages

It is true…I blinked and now my daughter is just a few days away from turning 13 years old! Today, I am documenting this transition by creating a 12×12 inch layout featuring products from the January 2023 Hip Kit Club Scrapbook Kit and Scrapbook Embellishment Kit.

When I started my YouTube Channel in 2014, my daughter was about 4 years old. Many of you remember her random appearances in some of my older videos and she is the muse for a lot of my projects. Well, that little tiny tot is turning 13 years old next week and I am a feeling a lot of mixed emotions. I am happy and excited for the next phase of her development, but I am also a little sad. The time seems to have flown by and I feel as though there isn’t much time left before she ventures into adulthood. So, I decided to document this next phase by creating a 12×12 inch layout called I Blinked.

Using pattern paper from the January Hip Kit Club Scrapbooking Kit, I created a distressed background by tearing the top edge of the pink notebook pattern paper and adhering it the floral pattern paper as shown. Next, I positioned two 3×4 inch photos of my daughter to the top right and bottom left of the layout. Each photo is backed with pattern paper from the kit for added interest. Once the photos were positioned, I added a title using a die cut and blue puffy letter stickers from the kit.

Next, I created fun embellishment clusters using pocket stickers! Each pocket contains a small cluster for floral die cuts, puffy stickers, chipboard phrases, and puffy dots. The pockets are backed with adhesive foam for added dimension and height. Normally, I would have hoarded these pocket stickers, however, they are way too cute NOT to use!

Lastly, I created two journaling blocks in Microsoft Word and printed the journaling on Classic Layering Vellum by Hero Arts. I also added tabs to the left side of each photo as a spot to document my daughter’s age at the time the photos were taken.

And with that, this layout is complete! I had so much fun designing this project and documenting this phase of my daughter’s life. To learn more about the products I used for this layout, click on the links below. And be sure to check out the process video for this project, now available on the Victoria Marie YouTube Channel.

Available Products:

Hip Kit Club – January 2023 Main Scrapbooking Kit https://www.hipkitclub.net/january-2023-main-kit

Hip Kit Club – January 2023 Embellishment Kit https://www.hipkitclub.net/january-2023-embellishment-kit

My Valentine Scrapbook Stash Inspired This Mini Album Project!

To be honest, I only create two Valentine themed projects every year – a layout about my daughter’s birthday and recalling the day that I went into labor (you guessed it…it was on Valentine’s Day). So, as a result, my small stash of Valentine scrapbooking goodies remains largely unused throughout the year.

However, I recently pulled out my Valentine stash and was immediately inspired to create a mini album featuring the people and things that I love! It has been a long time since I’ve created a mini album (outside of my standard 6×8 pocket album…think December Daily). I missed the creative process of making custom pages, chipboard covers, and a binding mechanism.

If you have been following me for sometime, then you know that I love to use my stash! So, for this project, I am challenging myself to use my Valentine scrapbook goodies to create a cute little mini album. And…I’m taking you along for the ride!

This project will be featured during my Wednesday YouTube Livestream over the next few weeks. During the livestream sessions, you will get to see the construction of this project, the products I’m using, and a look at my design process. To see last week’s livestream, Making A Valentine Mini Using My Scrapbook Stash Part I, click HERE!

Also, if you are a member of the Victoria Marie Patreon Community, you will have access to exclusive videos that feature a behind the scenes look at this project and my design process. The first video is now available on the Victoria Marie Patreon site so be sure to check it out. If you are not a Patreon member, no worries! Click HERE to learn more and to join.

For this project, I’m creating a 7.5 inch by 4.5 inch album using products from the Simple Stories Heart Eyes Collection (and other items from my stash) along with leftover chipboard material that will be used as the base for the album pages and covers. For the binding mechanism, I’m using two 1.5 inch rings that I purchased from the Dollar Tree. I want the ability to add more pages to this project if needed and using a ring binding system makes it possible to do so without much fuss.

I started this project by making a template using chipboard material. Taking the time to create a template is a great way to test measurements and to figure out the overall design of a project. Also, a template can be used for later reference in order to recreate a project.

I also took the time to sketch my project details and to make a list of the materials and techniques I want to use for this album. TIP: A little bit of pre-planning helps to reduce creative overwhelm and serves as a great brain dumping exercise.

At this point in the project, I am only focusing on the construction of the album. In the weeks to come, I will begin to collect stories and photos about the people and the things that I love.

Overall, I am super excited to dive further into the construction of this mini album! It has been a long time since I’ve made an album like this…I always enjoy the creative process. And most of all, I love that I’m using my stash…a win-win!

Products:

To see the products I used for the preliminary set up of this project, click on the links below. And stay tuned as I share the progress and a complete walk-through of this album in the coming weeks!

Chipboard Sheets – Amazon

Simple Stories – Heart Eyes Collection

____________________________

Disclaimer: Affiliate links are provided in this post and are free for you to use. Victoria Marie Designs receives a small commission anytime these links are used for purchase. Thanks for your continued support!

NEW! Sharing My One Little Word Project: Prep and Album Setup

The 2023 One Little Word project is in full swing and today on the Victoria Marie YouTube Channel, I’m sharing my OLW prep process and album setup! I have been participating in OLW since 2019 and it has become one of my favorite scrapbooking projects every year.

OLW as a concept has been around for many years. However, scrapbook industry expert, Ali Edwards, introduced OLW to the storytelling community over 12 years ago. The idea is to select a word that you can live through and reflect on throughout the year.

This year, I have selected the word SLOW to guide my life and my intentions in 2023. This word is timely and very much needed as I tend to go at warp speed and often underestimate the importance of slowing down. Throughout the year, I plan to share my OLW journey with you. To be honest, I’m a little scared but also very excited for this word. It is very difficult for me to slow down. I have a strong feeling that SLOW will teach me a thing or two – a lot life lessons are ahead of me and I am thankful for that!

So far, SLOW as taught me to be still, to embrace being quiet, to take a break, to read, to study, to think, and to relax. I am opening my heart and my mind to intentionally practicing the art of going slow. In some ways this is very easy, in others ways it is extremely hard. Going fast has greatly impacted my personal and professional life. I have learned that I need to pump the breaks a bit and enjoy my life…one day, one moment at a time.

Be sure to head to the Victoria Marie YouTube Channel to see my OLW prep process and album setup. Click on the video below to check it out!

Products Used: This year, I am using a combination of current and older OLW products. Click HERE to view available products. To learn more about One Little Word by Ali Edwards, click HERE!