A LIVE $10.00 Mini Workshop About LAYERING Coming on May 27th!!!

*****UPDATE: REGISTRATION IS CLOSED! ******

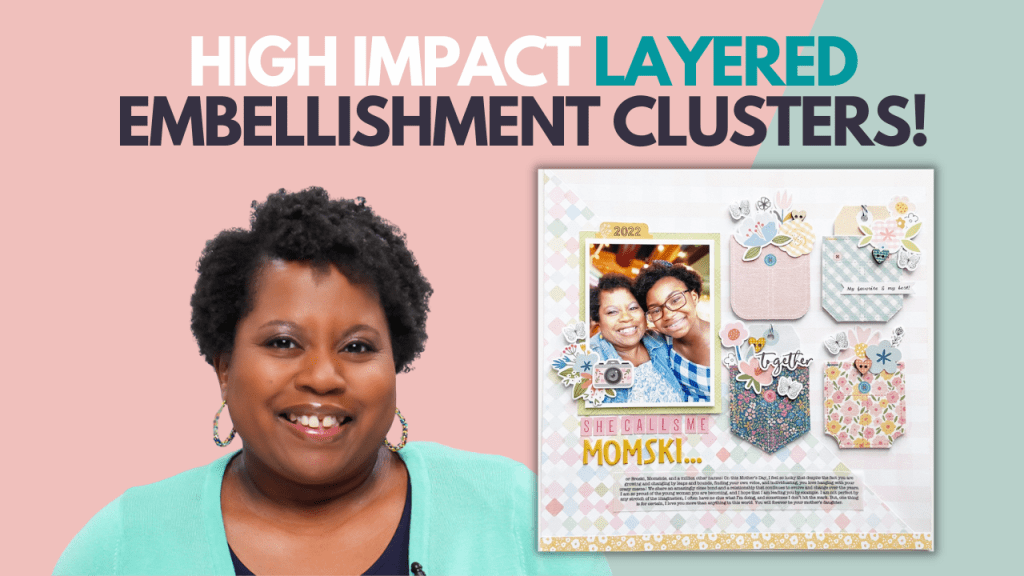
Have you have ever struggled to make layered embellishment clusters on a scrapbook layout? Do you want to improve your layering skills?

No worries, friend! I got you!

Join me for the Let’s Create! Layered Embellishment Clusters Live Mini Workshop!

Date: Saturday, May 27, 2023

Time: 10:00 am CST – 11:30 am CST

Where: LIVE on Zoom!

*The content and Zoom information is provided in the Victoria Marie Designs Online Classroom!*

Price: Only $10.00 USD!

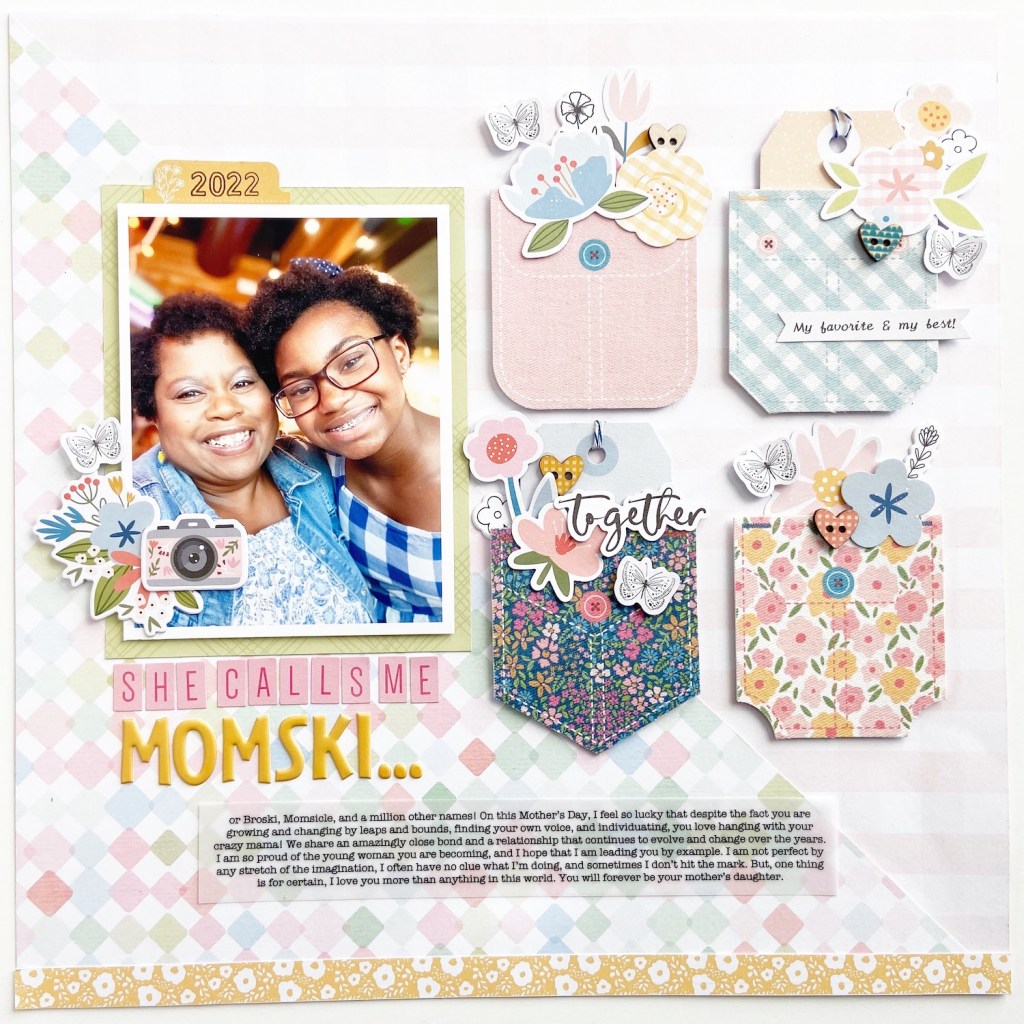
In this 90-minute workshop, you will learn how to use my Anchor, Stack, and Details Technique for creating embellishment clusters on a scrapbook layout.

We will start by reviewing several examples of scrapbook layouts that feature layered clusters, review the Anchor, Stack, and Details Technique, and I will demo how to implement this technique by creating a single-page 12×12 inch scrapbook layout!

There will also be a Q&A sesh at the end of the workshop!

Can’t Make It Live? No worries, this workshop will be recorded for replay! Feel free to watch the recorded replay at your leisure!

More Workshops! This will be 1 of 4 LIVE workshops that I will offer in the upcoming months, all focusing on layering techniques! Stay tuned for future workshop dates and times!

REGISTER TODAY!

To register for the Let’s Create! Layered Embellishment Clusters LIVE Mini Workshop, click HERE!

Registration ENDS on May 26, 2023 at 11:59 pm CST!

This mini workshop is only $10.00 USD! Sign up today and be sure to share with a friend! See you soon!

Layering Tutorial Series! Scrapbook Design Concepts for High Impact Layered Embellishment Clusters!

This week, I’m continuing my Layering Series on the Victoria Marie YouTube Channel with a look at design concepts and product recommendations for creating high impact layered embellishment clusters. If you love the look of layered clusters on a scrapbook layout but are not sure what type of products to use, no worries, I’ve got you covered!

High impact layered embellishment clusters contain elements that have a variety of textures, colors, and sizes. Most scrapbookers use cardstock die cuts to create embellishments clusters (and there is nothing wrong with that). However, to take your layered embellishment clusters to the next level, consider using a variety of elements such as wood veneer, acrylic, cork, enamel dots, or puffy elements when creating layered clusters.

In today’s video, I share a few design concepts that can be used to create high impact layered embellishments clusters. These concepts include:

  • Texture
  • Shape
  • Color
  • Size
  • Scale

Together, these design concepts can help inform the products you select for your scrapbook projects and the overall design of your layered composition. To learn more, click on the video below!

Here’s an example of these concepts at play!

This 12×12 inch layout features a variety of elements of different sizes, shapes, textures, and scale. The top cluster houses a large title which is flanked by mid-size and smaller elements. This concept is repeated for the other layered clusters. To add interest to the layered clusters, I used chipboard elements, cardstock die cuts, enamel dots, tags, labels, and stickers. Together, all of these elements help to create high impact layered embellishment clusters.

Here are a few more layouts where I used these design concepts to create layered embellishments clusters!

This layout features cardstock frames, chipboard floral elements, a puffy sticker banner, chipboard hearts, and enamel dots.

This grid design layout features lots of wood veneer, cardstock die cuts, and chipboard elements to create small layered clusters throughout the composition. All of the elements range in size, shape, scale, and texture.

And lastly, this layout features fabric pockets that are layered with cardstock die cuts, chipboard elements, fabric butterflies, and wood veneer heart buttons. The varied size, texture, and scale of these elements creates a stunning layered scrapbook page!

The next time you create layered embellishment clusters on a scrapbook project, be sure to consider these design concepts and product recommendations. If you are inspired to test out these concepts, feel free share what you make with the Victoria Marie Facebook Group Community!

P.S. If you missed the first video in this series, Layout Study – Why This Works, click HERE!

EASY Scrapbook Tutorial! Creating Subtle Texture Using a Basic Shape, Cardstock and a Distress Tool!

Today on the Victoria Marie YouTube Channel, we are going to explore a super simple technique that you can do TODAY that will add a subtle touch of texture to your scrapbook layout using a basic shape, cardstock, and a distress tool!

Adding a bit of texture to a scrapbook layout doesn’t have to take away from the composition of the design. For this project, I created a circular element that features textured strips of solid white cardstock. I was going for a subtle monochromatic look with high impact texture for this design.

To begin, I trimmed two circles (7 inches and 7.5 inches) from American Crafts Textured White Cardstock and solid pink cardstock from Felicity Jane using a circle cutter. TIP: You do not need a fancy tool to create circles on your scrapbook layouts! Any circular item can be used to trace a circle for a scrapbook project – a bowl, cup, or a circular container will do the trick!

Next, I trimmed several 1×12 inch strips of solid white textured cardstock and distressed one edge of each strip with a Tim Holtz Distress Tool. Of course, you can use scissors to create distressed edges as well.

To finish this element, I layered strips of the distressed paper on the 7 inch circle and trimmed the excess paper. The 7 inch circle was then adhered to the 7.5 inch pink circle – this provided a bit of framing to the 7 inch circle and allows it to stand out a bit more on the layout. Lastly, the distressed circle element was adhered to the middle of the layout. To complete this project, I added photos, a title, journaling, and embellishing.

I absolutely LOVE how this design came out! The monochromatic color of the circular element coupled with the high impact texture from the distress strips adds a subtle bit of texture and interest to this project. I highly encourage you to give this simple and quick technique a try!

To see this layout come together, click on the video! Links to available products featured in this video are provided below! Thanks so much for stopping by!

Available Products: (Not affiliate links)